It’s that time of year again — the time when our to-do lists get longer and the days get shorter. With winter rapidly approaching, it’s time to tackle yet another project: closing your swimming pool for the season.
It’s a big job but, with our helpful hints, you’ll be winterizing your pool like a pro in no time. Read on for our easy step-by-step instructions on preparing your swimming pool for the cold weather.
Step 1 — Balancing Your Water
If you stick to a regular maintenance schedule, this will be a relatively easy task. About a week before you plan to complete your winterization, use a test kit to make sure your pool’s water is properly balanced.
Have chemicals on hand to make sure the water’s pH levels range between 7.2 and 7.8 and the alkalinity falls between 80 and 120 ppm. Calcium hardness should sit at 180-220 ppm. Add shock and algaecide as well if needed.
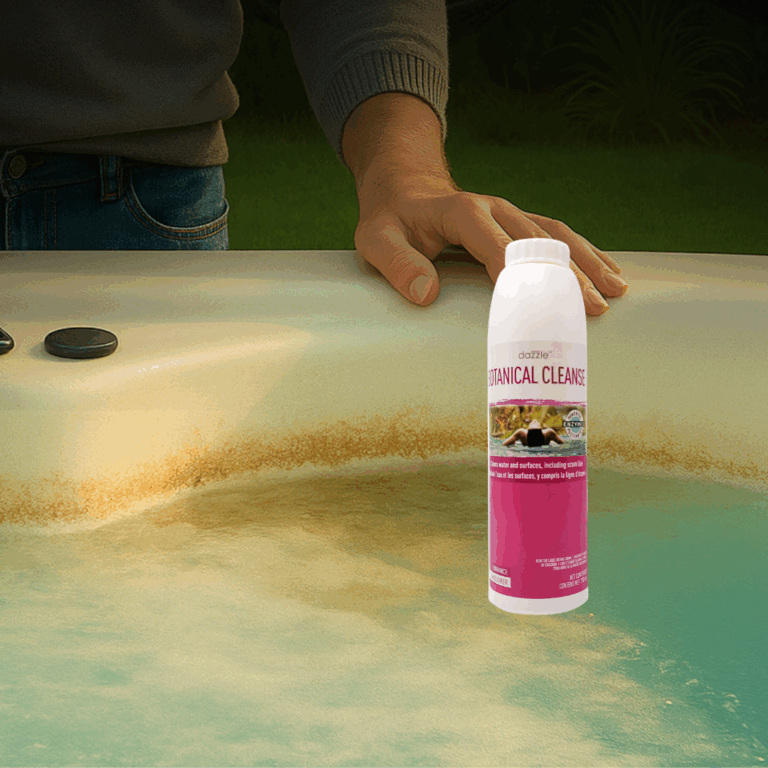
Step 2 — Cleaning the Swimming Pool
Once the water has sat undisturbed for a week, it’s time to break out your cleaning supplies. Brush down your pool’s walls with the filter set at the drain or waste position to remove dirt.
Once that is complete, grab your vacuum and go over your entire pool to suck up any remaining debris.
Last, but not least, clean your pool’s skimmer baskets and pump’s hair trap.
Step 3 — Cleaning and Storing Equipment
Your pool ladder or drop-in steps should be removed, washed, and dried before storing them for the winter.
The same goes for skimmer baskets and solar blankets. Larger elements such as a slide or diving board must also be cleaned. Once dry, wrap them well to protect them from the elements.
Step 4 — Draining the Water
This step is essential to protecting your pool from cold weather damage. This doesn’t mean draining your pool dry, however.
Rather, the proper level should be determined by the type of cover you have. The manufacturer’s instructions will tell you the ideal water level for supporting both the cover and any snow that lands on it.
Step 5 — Cleaning the Pump and Filter
Start by removing and washing your cartridge filter before drying and storing it.
Next, backwash the remaining filters and then drain any existing water from the pump, filters, and pool heater.
Step 6 — Blowing Out the Lines
This is an important but difficult phase of winterizing your swimming pool. During this step, air must be blasted through your pool’s plumbing to remove all water from your lines, pump, and filter. When done right, this protects them from freezing and ice damage.
Done wrong, this process can easily damage your swimming pool. Unless you’re familiar with this process, we recommend hiring an expert to handle this step for you.
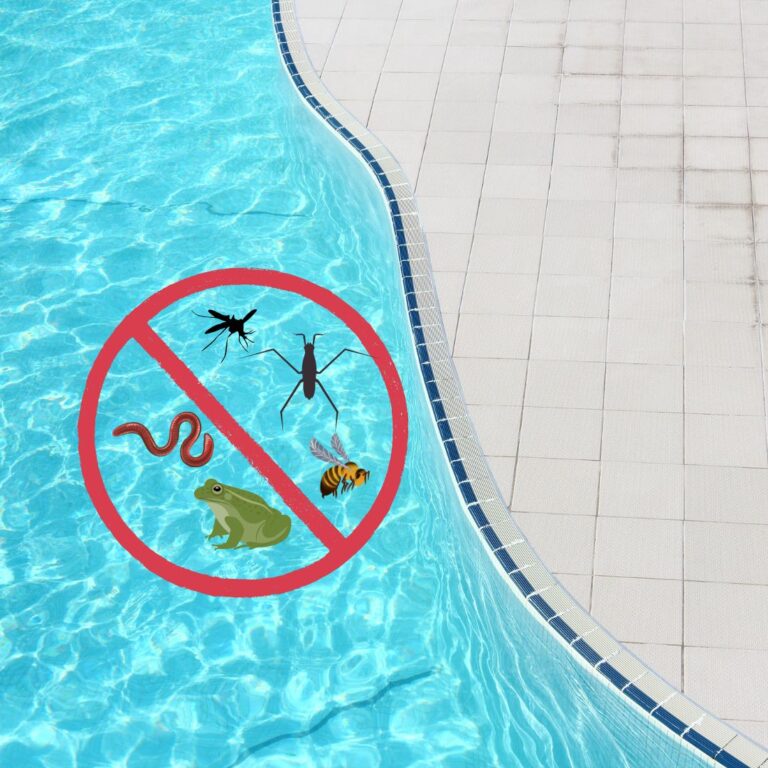
Step 7 — Installing a Winter Cover
The right cover will protect your swimming pool from the elements while also keeping your water balanced. To prevent your cover from sinking — a real danger if ice forms on it — it’s a good idea to use pool cover weights. A pool cover pump, meanwhile, will eliminate any water laying on top of it.
Sun Valley Pools & Spas If the idea of winterizing your pool leaves you cold, get in touch with us at Sun Valley Pools & Spas.
Our swimming pool service technicians can help as much or as little as you need. Our pool supply store, which serves the Duncan and Cowichan Valley area, offers high-quality supplies including pool safety covers and pool chemicals.
Drop in at our Duncan, B.C. showroom to stock up on supplies, or give us a call at 250-748-9811 to schedule a service appointment.